 |
 |
 |
 |
 |
| Cath.jpg | CCFF.jpg | CFCF.jpg | FCCF.jpg | FFCF.jpg |
|---|---|---|---|---|
 |
 |
 |
 |
 |
| FFFF.jpg | IFFI.jpg | Inn.jpg | RFIF.jpg | Road.jpg |  |
 |
 |
| RVTL.jpg | RVBR.jpg | Things.jpg |
C2Track.gif
After copying all of the tile to your Tile1 directory,
Step 1: Create an empty working directory on your PC, for example, "Tile1".
Step 2: Display the Carcassonne Tiles, then:
|
|
|
|
|
| Cath.jpg | CCFF.jpg | CFCF.jpg | FCCF.jpg | FFCF.jpg |
|---|---|---|---|---|
|
|
|
|
|
| FFFF.jpg | IFFI.jpg | Inn.jpg | RFIF.jpg | Road.jpg | |
|
|
| RVTL.jpg | RVBR.jpg | Things.jpg |
C2Track.gif
After copying all of the tile to your Tile1 directory,
Step 3: Create an empty "MyPage1.txt" in your Tile1 directory
Step 4: Use notebook to open your MyPage1.txt file
Step 5: Click "Display HTML Code" in your byo page
Step 6: Copy the HTML Code to your MyPage1.txt file and save it.
Step 7: Rename your MyPage1.txt file to MyPage1.htm.
Step 8: Change to your Tile1 directory and double click the MyPage1.htm file
Your display should look like this:
After copying the HTML code to your Tile1 directory,
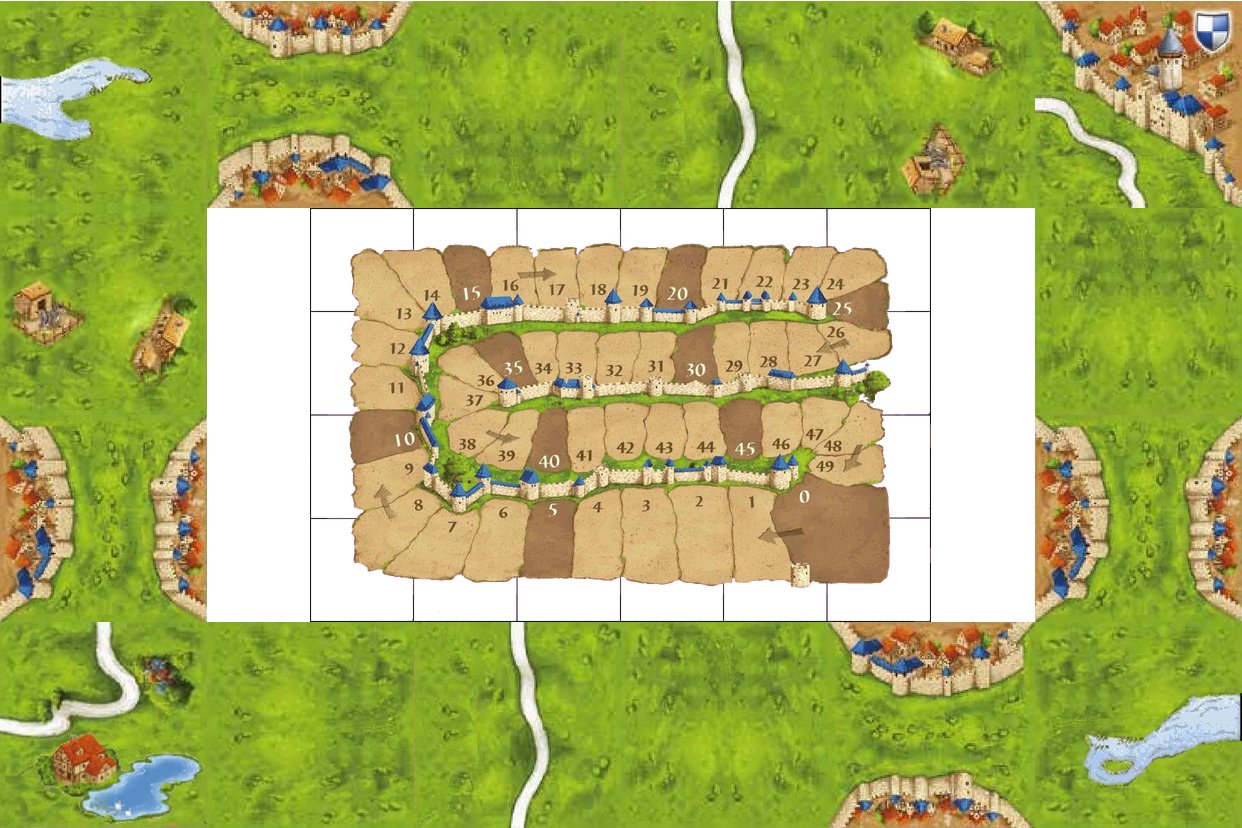 |
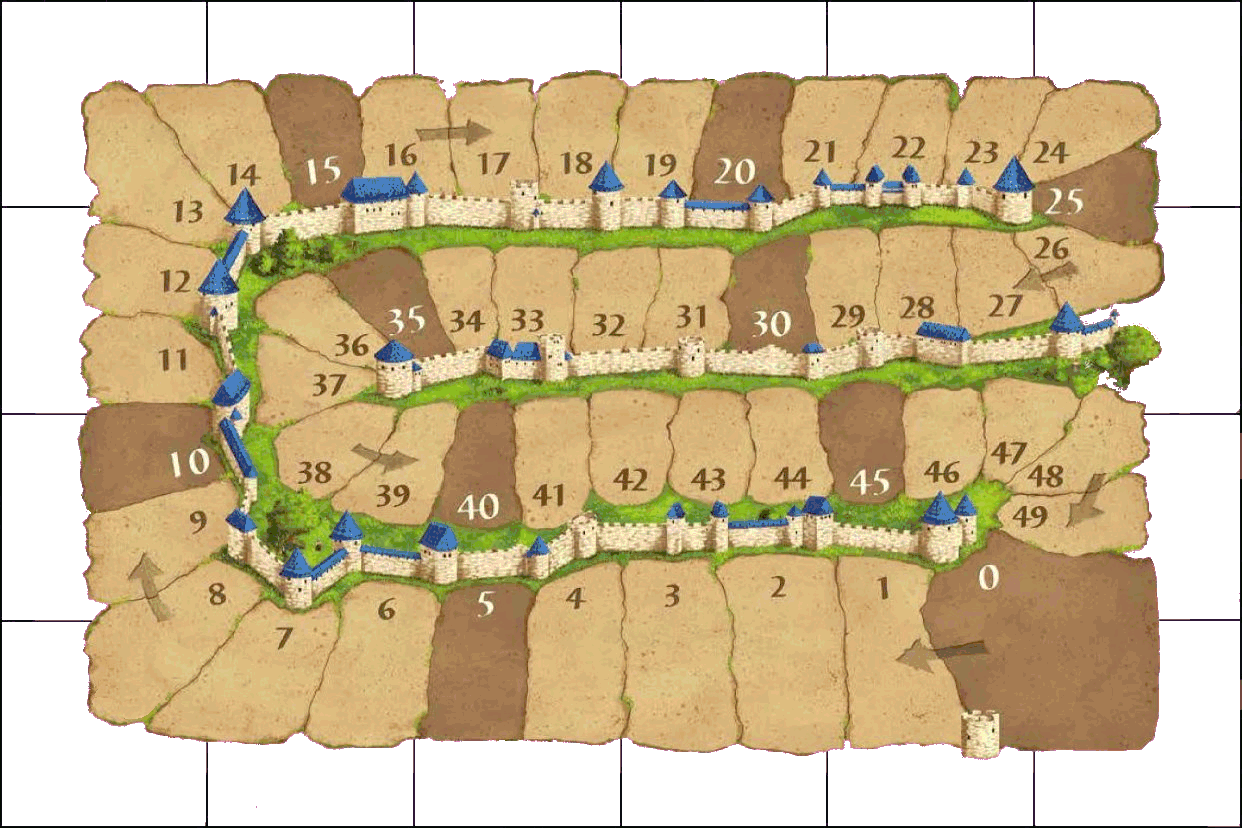
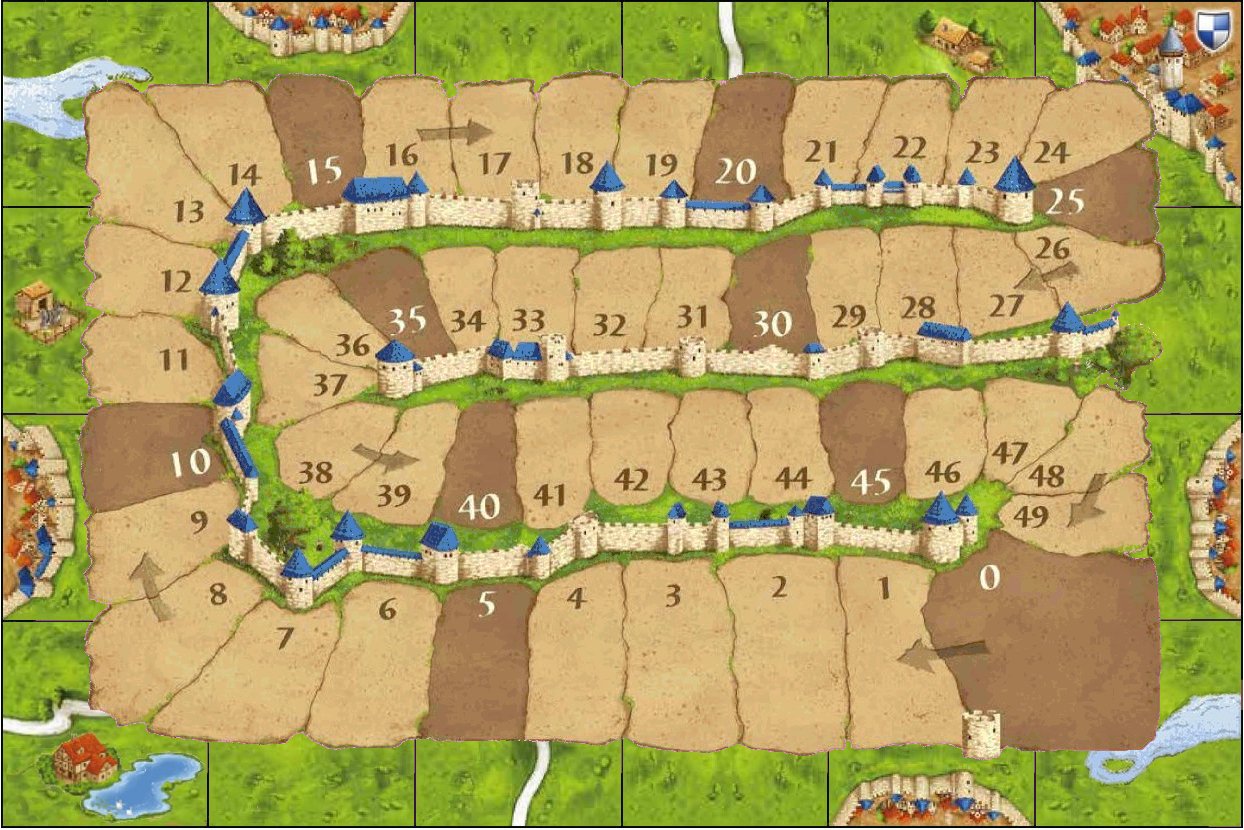
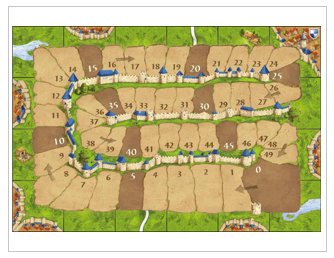
The first image that you will see will show a sample of the 6 tile wide by 4 tile deep border that will eventually become the edges of your new Score Board Starting Tile. The image in the center is a 50% representation of the final scoreboard that will overlay the border tiles with transparent edges. |
Your next step is to click on the Final Image button at the bottom of the screen. If you are satisfied with this image for your starting tile, move on to the section on how to copy this image onto a Word Document page and print it. Note: Remember that you must take a ScreenShot of the Start Tile Image. Merely copying the ScoreBoard itseld will not include the tiles under the transparent edges! If you are not satisfied, just continue reading on how you can modify the edges of your personal start tile. |
 |
Open your MyPage1.htm file in notepad. Hit (Ctrl+Shift+S) to save your new page file under the name you want. The pop-up Save As page will probably be blank and say "No items match your search." And the File name: will say the name of the .htm file you are changing. Click the down arrow on the right side of the Save as type: line and select All File (*.*) so you can see the names of all of the .htm file that you have already created, then click the File name: box again and type in the new .htm filename that you want to create.
Open your NewFile.htm file in notepad. The first section of the file defines the styles that are used to display the tiles in your working and final images. Then, approximately half way down the page, you will see the HTML table that defines the start tiles. Each tile is displayed using the following HTML/CSS coding:
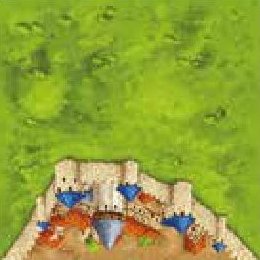
<td class=r0x><img class=ct src=RVTL.jpg></td>
In each line, the scr = ...jpg filename defines which of the following tiles is to be displayed in the location defined by the (tr) row and (td) column.
|
|
|
|
|
| CCFF.jpg | CFCF.jpg | FFCF.jpg | FFFF.jpg | FCCF.jpg | |
|
|
|
|
|---|---|---|---|---|
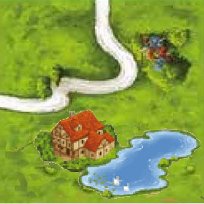
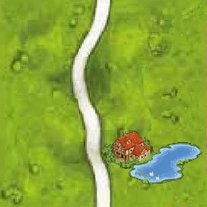
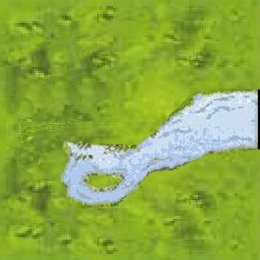
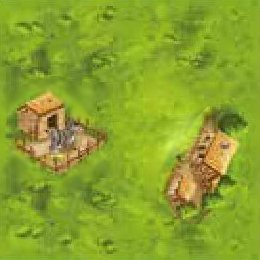
| Road.jpg | Inn.jpg | RVTL.jpg | RVBR.jpg | Things.jpg |
And the td class=r0x defines the rotation of each tile: r0x display as is, r1x rotated 90 degrees, r2x rotated 180 degrees, and r3x rotated 270 degrees.
The coding for the bottom right tile has to be a little different to allow the score card to be displayed on top of the border tiles.
<td class=r0x><div class=overlay>
<img class=ct src=RVBR.jpg>
<img id="ScoreBoard" class=xx src=C2Track.gif>
</div></td>
The td class r0x handles the rotation of the last tile the same as the other 15 tiles, and the src=...jpg also defines what tile is displayed. The xx class of the Score Board image will be changed by the Final Image / Smaller Image buttons, to alter the size and upper left corner of the Score Board.
After changing one or more jpg tile names, save/update (Ctrl+S) the notepad file and refresh your browser page. Not done yet? Go back and make more changes! Happy with the final result?
The final image that you are looking at is actually a combination of 17 different images. Right clicking on the image and selecting copy will only copy the single image that is on top, just the score board, not the other 16 border images.
The answer is to right-click on the white space that is surrounding the image, then select "Take Screenshot" from the pop up window. This will select the entire screen and ask you to clink on the region that you want to copy.
Now when you click on the score board, the selected region is now just the Score Board image, but you are copying the screen, not just the top image, so you will also copy the visible portions of the tiles under the score board image. SO, click the Copy button that is on top of the image you selected.
You can now paste that image onto a Microsoft Word Documents.
 When you attempt to print a Word document, the first thing you see is the
pop up Print page which contains another Print button and an image of
what your printed page will look like.
When you attempt to print a Word document, the first thing you see is the
pop up Print page which contains another Print button and an image of
what your printed page will look like.
If the start tile image almost touches both sides of the printed page, like the image on the right, then you can hit the print button. If the start tile image has wider left and right margins, like the image on the left (and you are not printing on legal paper), then hitting the print button will probably waste a lot of ink!