NOTE: The final creation of your personal scoreboard requires
a monitor that can display a 1242 x 828 pixel image, but all of the
work leading up to actually printing the image can be done on a
smaller monitor, just reduce the zoom factor while you are designing
your scoreboard. When you are done, just copy your Tile1 directory
to a thumb drive so you can display your scoreboard on a computer
with a
larger monitor. Then you can use any image editor, like Microsoft
Paint, to save your scoreboard as a JPEG file.
Step 1: Create an empty working directory on your PC,
for example, "Tile1".
Step 2: Display the Carcassonne Tiles, then,
Depending on your browser/operating system
Right click on each tile and "Copy Image"
Right click inside your "Tile1" directory and "Paste"
or
Just click on each image, hold down the mouse button,
and drag each image to your "Tile1" directory
and
Don't forget to also save the .GIF Score Board tile
Hide the Carcassonne Tiles
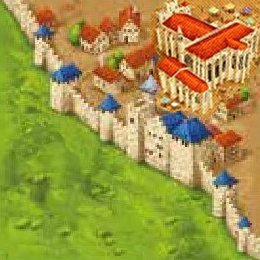
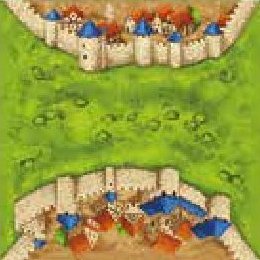
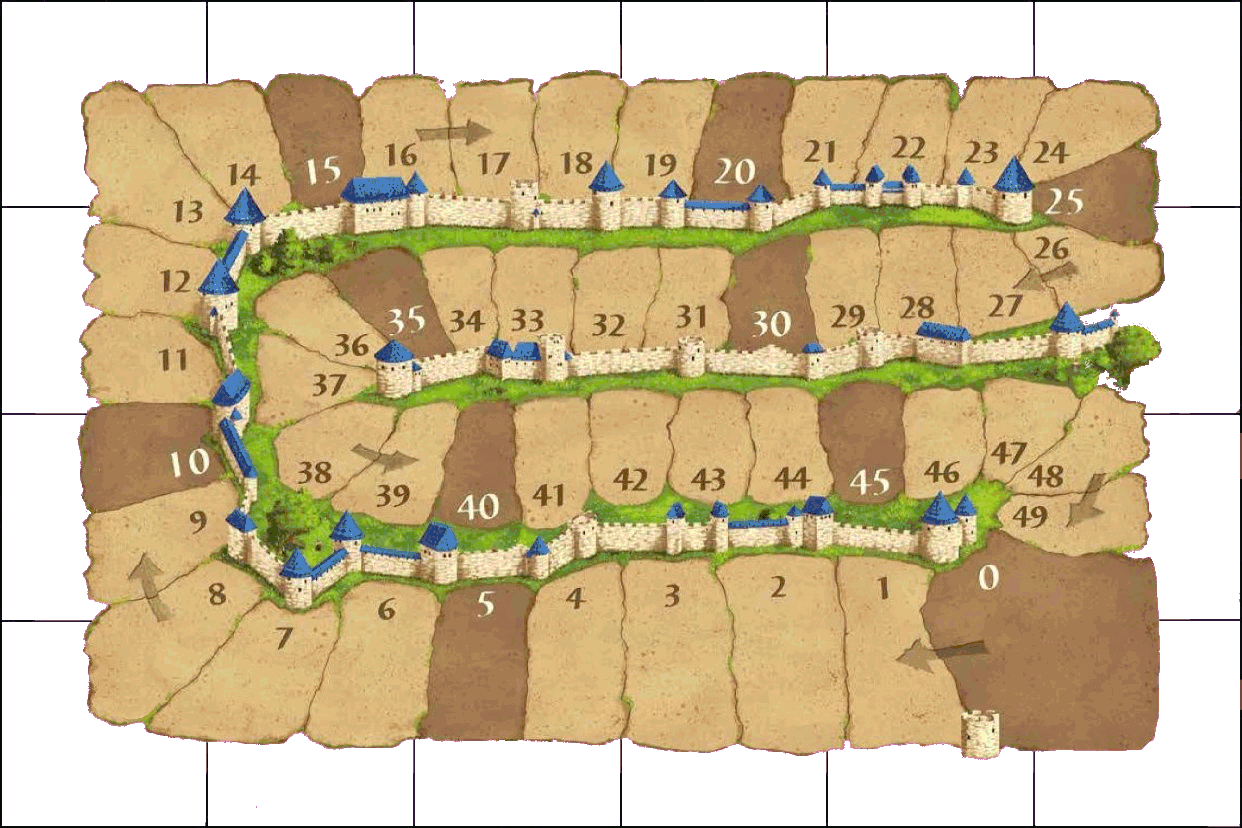
Corner Tiles
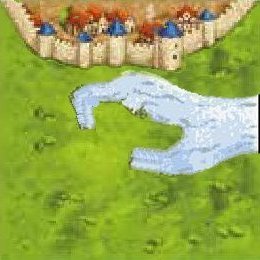
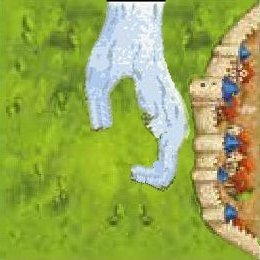
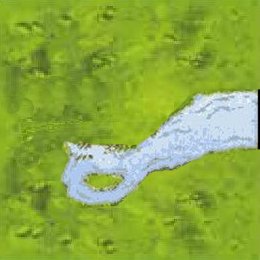
River Tiles
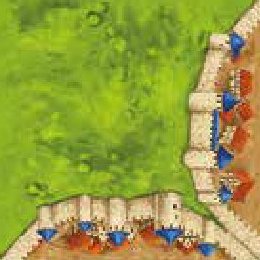
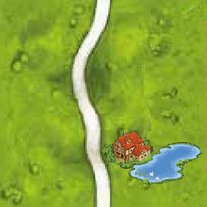
Edge Tiles
Overlay Tiles
Scoreboard and Grid displayed at 25%,
But they can still be dragged or copied as is
After copying all of these image files to your Tile1 directory,
Step 3: Create an empty "MyBoard.txt" in your Tile1 directory
Step 4: Use notebook to open your MyBoard.txt file
Step 5: Click "Display HTML Code" in your byo page
<!DOCTYPE HTML PUBLIC "-//W3C//DTD HTML 4.01 Transitional//EN">
<HTML LANG="en-US">
<HEAD>
<TITLE>River 1 w/ Inn Cath</TITLE>
<button onclick="HalfSize()">Smaller Image</button>
</center>
<script>
function FullSize() {
var x = document.getElementById("ScoreBoard");
x.className="sb";
x = document.getElementById("Grid");
if(x)x.className="hd";
}
function HalfSize() {
var x = document.getElementById("ScoreBoard");
x.className="xx";
x = document.getElementById("Grid");
if(x)x.className="gd";
}
</script>
</body>
</HTML>
After copying the blue HTML code to the MyBoard.txt
file in your Tile1 directory,
Step 6: Copy the blue HTML Code to your MyBoard.txt file and save it.
Step 7: Rename your MyBoard.txt file to MyBoard.htm.
Step 8: Change to your Tile1 directory and double click the MyBoard.htm file
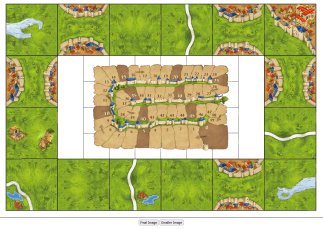
Your display should look like this:
but about 4 times larger
Now it is time to create your HTML files, BUT, this
cannot be done with the same drag and drop process used for copying
the tiles to your directory!
For each of the following htm file links:
Open a DOS command prompt window
cd Change to your Tile1 Directory
Create the empty file: "notepad Basic.htm" (Using the name of the
scoreboard file you are trying to copy)
When the pop-up window says that it cannot find the file and asks
if you want to create it, Answer Yes.
Now click on the scoreboard filename link below.
When the file opens:
Right-click on the empty white space to the left or right of the
scoreboard.
Select "View Page Source" from the pop-up window.
Then enter Ctrl-A and Ctrl-C on your keyboard to copy the page to
your clipboard,
Then click on the empty notepad page you created and enter Ctrl-V
on your keyboard to copy the clipboard to the notepad page.
Save the notepad page and close the notepad window
Repeat this process for as many of the scoreboard sample files as you want to copy.


 but about 4 times larger